Pages

Sunday, July 1, 2012

Preserving Summer Produce, Part 2: Salsa


If you have peppers and/or tomatoes that need to be used, make salsa! It's easy and pretty quick. I made mine at 9pm and was in bed by 9:30p. I put the peppers on a lined baking sheet whole, and drizzled with olive oil.


They look awful, but that's what gives them a smoky roasted flavor.

Remove the stems of the peppers.

Puree it all in a food processor...


I found that the peppers I used made it a little more bitter than I like. So I added a little sweetness in the form of agave nectar, and a little heat in the form of Tapatio hot sauce. But, you make it how you like it - and depending on what you are using, you may not need either of these at all.
It was easy, fast, and really good with a quesadilla. What a great way to use up all those peppers and tomatoes in one go!
Roasted Pepper and Tomato Salsa
10-12 peppers & tomatoes, any combination
1/2 bunch green onions or 1/2 white or yellow onion (optional)
1 lime, juiced
1-2 cloves garlic (optional)
1T agave nectar or honey (optional)
1T hot sauce (optional)
Olive oil to cover the vegetables, about 4 tablespoons
Salt to taste
Roast the vegetables at 425F for 15-30 minutes - you can turn them half way through the cooking time - until charred on the outside and your house smells like salsa. Let cool for 15-20 minutes, then remove the stems off the peppers. Put everything into a food processor, add lime juice, and blend until smooth. Taste the salsa. Is it bitter? If yes, add a bit of agave or honey. Add Salt to taste. Store in an airtight container or jar.

Tuesday, June 26, 2012

Preserving Summer Produce, Part 1

Yikes, has my life been a little bit hectic! Summer has hit and I feel like I'm going non-stop. We took a short trip to Las Vegas last weekend to celebrate a friend's 30th birthday. But before I left, I had to save all of the CSA produce that I hadn't been able to eat from that week...

So here's a couple of quick tips for two totally separate items: garlic and watermelon. I don't recommend them being used together. But, if you have any brilliant ideas for how they could, let me know.

Storing Fresh Garlic
My mom showed me years ago that if you have a bunch of fresh garlic, you can store it in the fridge if you peel it, put it in a jar, and cover it with white wine. It keeps for weeks, even months, just like that. And you can use it when you need it - it won't mold or lose its flavor. I got three big heads of garlic in my box this week, and there was no way that I'd have been able to use it in time.

Before I started canning, I never had mason jars in the house, but since I have, I use extra jars for all sorts of things. They come in handy more often that I had ever thought! You can find them at hardware stores, like OSH or Ace Hardware.
Got Leftover Watermelon??


I did. A whole half a watermelon. I'm amazed at how many servings you can get out of one of these things. I bought it for a BBQ, had 10 people over, and I still had more than half left.

My nephew used to love watermelon juice when he was little. I'm sure he still enjoys it. Thinking of him, I decided to blend it up into juice, store it in the freezer, and then I'd have it on hand for a refreshing summer drink in the future.


With this one half melon, I got two pints of juice by simply cutting it up, throwing it in the blender and letting 'er rip.

Here's to watermelon mojitos, watermelon margaritas, sparkling watermelon juice spritzers, and all the other watermelon drinks that are to come! (We'll see how far two pints of juice goes.)


There's more to come on preserving produce, so stay tuned. :)

Monday, June 18, 2012

Green & White Pizza


You can't tell from the fuzzy photo, but this was a really tasty pizza. A new creation, I am calling it the Green & White. Everything on it was green or white. If you ever make one, all you need is green and white toppings, and you'll be set.


I had all these onions left over from some Persian take-out food we ordered. They always give us quarters of raw white onions in a paper bag with the plastic utensils and extra sumac seasoning. But, I'm not a huge fan of raw onion, so I saved them for another day. This was the day.


I carmelized them by heating up 2 tablespoons of olive oil and 2 tablespoons of butter, dumping in the sliced onions, sprinkled with salt, and turned the heat on low, letting them cook really slow. Low and slow, baby. They will sweeten up and turn a beautiful golden brown color. Smells so good.


Second white ingredient: chicken breast. I cubed 2 breasts and seasoned them with salt, black pepper, and Italian seasoning. Then I sauteed the chicken in the same pan that my onions were in, after they were done.


Third white ingredient: mozzarella cheese. First green ingredient: basil pesto (pre-made from the farmer's market).


Second green item: capers. They are are salty and pickled and add the slightest bit of tang to a fairly sweet pizza (because of the onions).


Here it is, all ready for the oven. I was going to add spinach to even out the green and white, but I got lazy. No one but me knew the difference. It is what you make it after all, right?

Baked it up in a 450 degree oven for 10 minutes and it was bubbly and delicious. My husband said it was the best yet. I guess they just keep getting better, because he seems to always say that when I make pizza. Give the Green & White a try. Just be sure to use whatcha got.

Wednesday, June 13, 2012

Indulging on the Island


Sorry for the long absence...I've been working hard preparing for our annual regional staff conference, which took place on Catalina Island over the past 5 days. When we go to Campus By the Sea, it means eating good food for breakfast, lunch, and dinner, thanks to Chef D'Arcy and his crew. This cinnamon roll, for example, was consumed in a matter of minutes by little ol' me. Can we say, proposed calorie intake for the whole day?? It was a marvelous eating experience, nonetheless.

Since I have been indulging while away, I will be back soon with another post. One that will make you a little less jealous, but hungry, all the same.

Friday, June 1, 2012

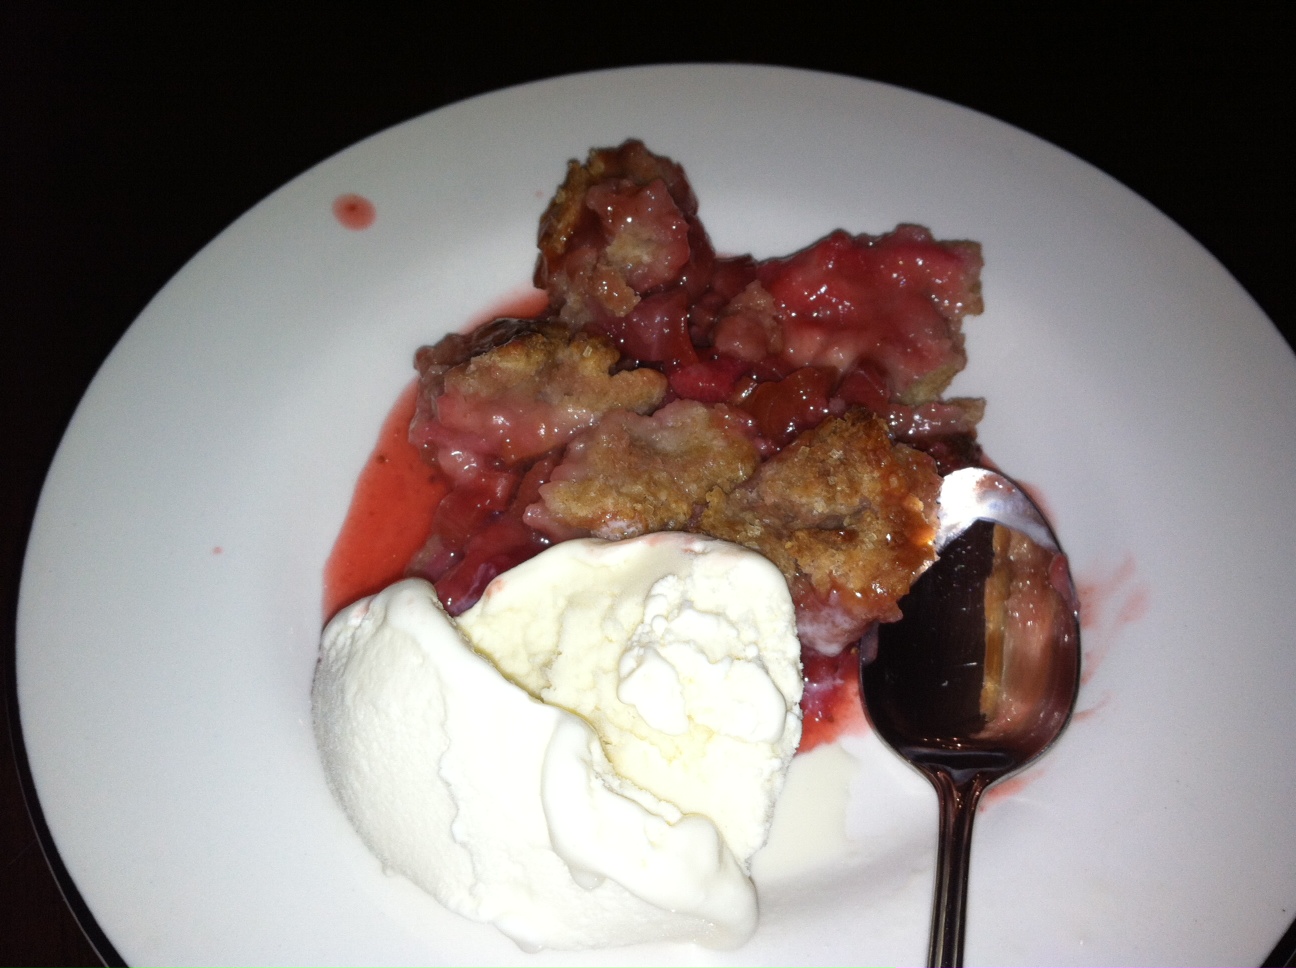
Strawberry Rhubarb Cobbler


Mmm. Summertime. Cobblers and crumbles and pies.  Fruit pies that lead us right into wanting more pie in the fall season - pecan, pumpkin, and pear. Just thinking about it makes me happy.

I get even happier when I get to make something and eat it (and not just think about it). That's what happened when I opened my CSA box to find rhubarb and strawberries. Together. Perfection.


Our dear friends, the Hahns, were getting ready to move from LA to the Bay Area, so we threw them a little going away party. And what brightens up a bittersweet event more than a fiery red dessert a la mode?


I found this recipe on Pioneer Woman's website. Hers was a rhubarb-only cobbler, but I added the strawberries because, 1) I had them, and 2) 3 stalks of rhubarb didn't look like quite enough to feed 9 people. I was pretty excited to do this because I'd never worked with rhubarb before, but I love the tangy tartness that it brings to a sweet dish. Yay for trying new things!

I chopped up the berries and rhubarb in a medium dice. Then added lemon juice,


and sugar. And "gave it a quick toss," as so many Food Network peeps like to say.


I just mixed that up right in the dish I was going to bake it in. Why wash more dishes than you need to? Oh, and I was out of almond extract, so I think I used vanilla.

Then came the cobbler topping, which is sort of like biscuit dough, but a little wetter.

I used 1 cup of white flour and 1 cup of whole wheat flour. Healthy bits here and there make me feel better about the sugar intake... and the butter and shortening. Let's not forget that part.

Note: a little trick my mama taught me. When measuring shortening (from a can), it can be hard to know if you're getting an accurate measure by just stuffing it in a measuring cup. There are air pockets when we do that. So, to get exactly 1/4 cup, you fill a 2-cup measuring cup with 1 cup of water. Then scoop the shortening into the water so that it's submerged in the water (stick it to the bottom to make sure it doesn't float) until it reaches the 1 1/4 cup line. Pour off the water in the sink and put the shortening in your mixing bowl!


Cut in the shortening and butter...


Mix in the wet ingredients (egg and milk)...


Then start topping the fruit with pinches of dough, so that it resembles a cobbled road in a small French village. Hey, it's good to use your imagination when cooking, right?


Sprinkle with sugar for extra sweetness. I used raw sugar - it's crystal-like and shiny. Bake it off for 35 minutes and serve it warm with ice cream!


Here are the lovely ladies, Susan, Allison, and Annie enjoying their dessert. We'll miss you Annie (and Andrew and Colten!)!!

This won't be the last time I make this one. It was a winner. :) Welcome June, welcome summertime!

Sunday, May 27, 2012

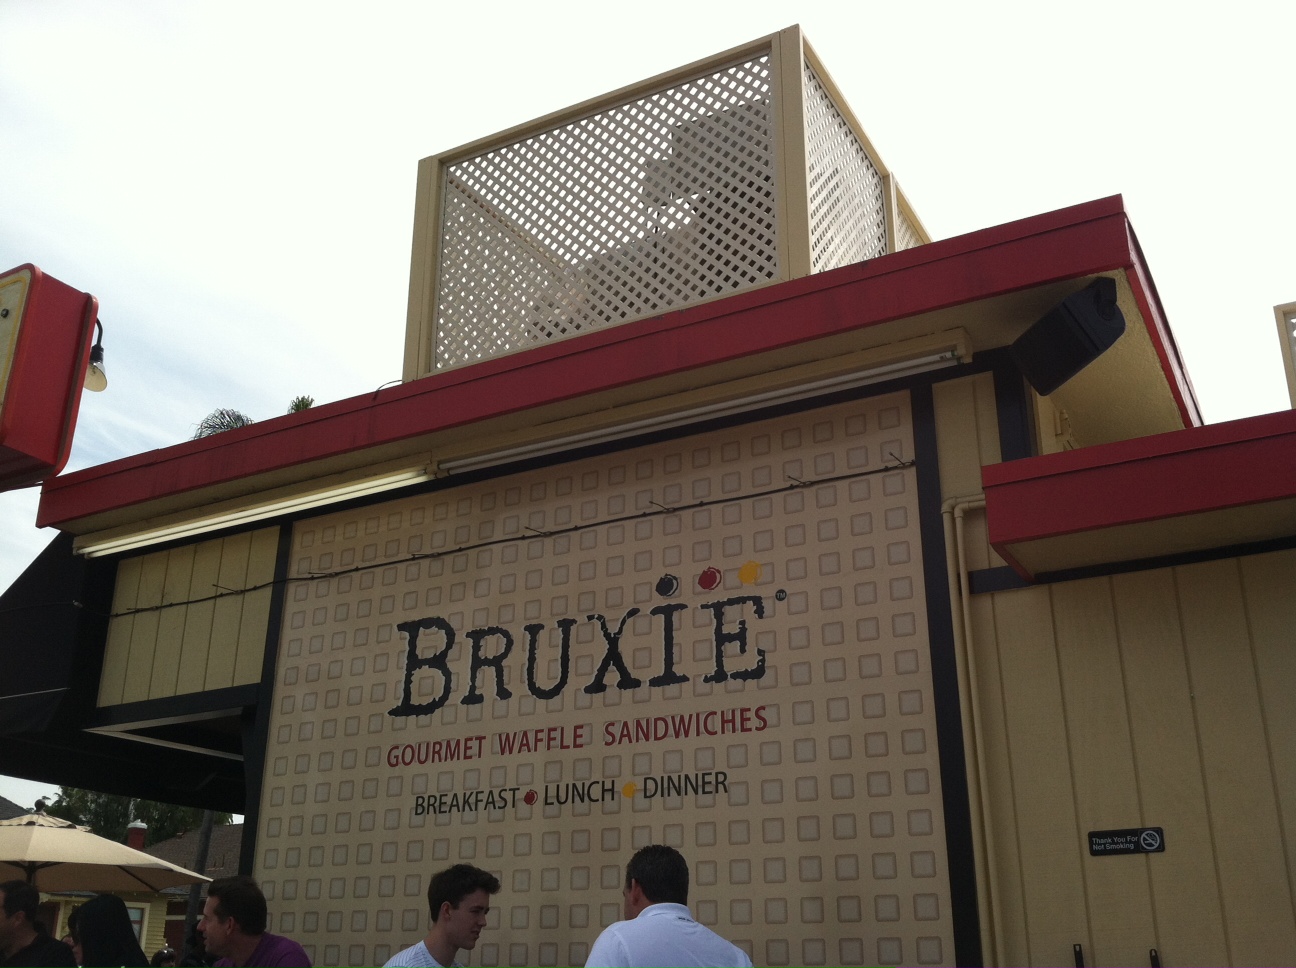
Bruxie's Gourmet Waffles

Happy Memorial Day Weekend!


If you're in Southern California this Memorial Day, or any time in the near future, check out Bruxie, an awesome new find in Orange County. They have three locations - Brea, Rancho Santa Margarita, and the City of Orange. We've been to the one in Orange two times now, and have NOT been disappointed. Everything we've tried is tasty and "crave-worthy." That is, it's food that I crave on a regular basis. Unfortunately, I'm a bit too far to go out there every time I want it, but it's been a treat in my recent life, and I like it.


If you love waffles (like I do), then the thought of a sandwich made with waffles instead of bread is like heaven. This place is just a little shack. Seating is available outside only and you won't miss it because there's a line around the corner at any given time of the day.

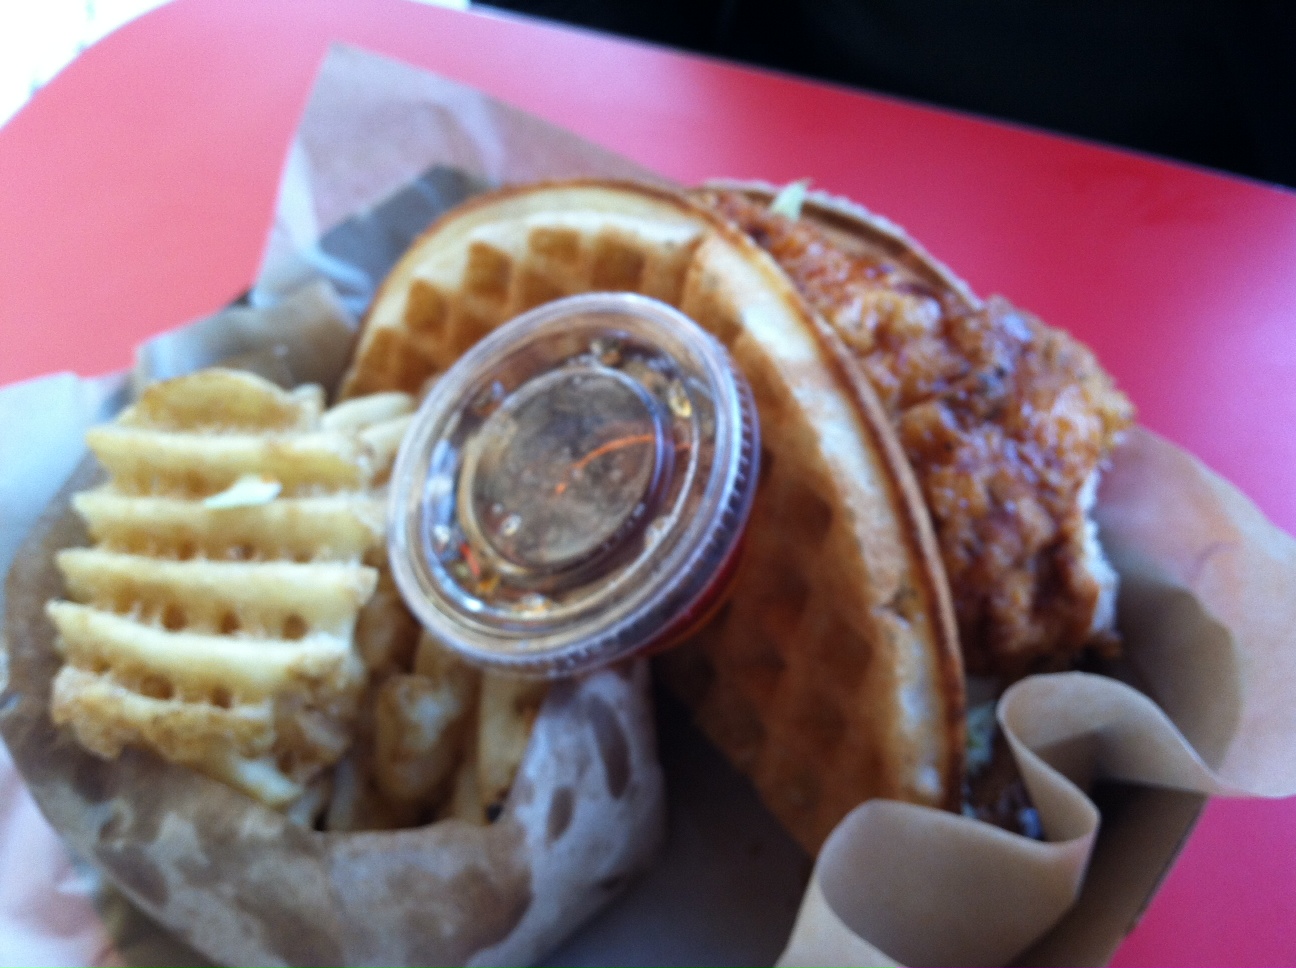
They fill these folded waffles with everything from PB & J to a classic burger, from pastrami to prosciutto to pulled pork. It's glorious.

Here's the cheeseburger...simple lettuce, tomato, and cheddar, but so juicy and good.

Of course they have to have a fried chicken & waffle too - served with maple syrup and pictured here with a side of waffle cut fries.
Then, there's dessert...

You can do it simple with lemon cream & berries, or nutella & banana, OR, you can do it up in a sundae with frozen custard and the works...

This is what we demolished...a traditional Belgian-style waffle, the batter studded with sugar crystals so that they carmelize in the waffle iron, topped with frozen custard, peanuts, chocolate and caramel sauce, and lots and lots of whipped cream.

They also serve housemade old-fashioned sodas, lemonade, and shakes. There are always specials too...of course there are!

It's different, it's really good...and if I have to list a negative, it's that there's no onsite bathroom. But, trust me, it's worth the walk to the local Starbucks for a restroom just to have your tummy full of this goodness.

Try it. You'll like it.

Tuesday, May 22, 2012

Happy Bloggeversary To Me!


It's hard to believe it's already been ONE WHOLE YEAR of sharing
my kitchen and travels with you!
I've learned a few things along the way:

1. Blogging is a great creative outlet for whatever one is passionate about
2. I love trying new recipes and sharing them with others
3. Don't take food pictures on blue plates - not very appetizing
4. iPhones make great cameras when you misplace
your primary camera for 6 months
5. Don't be afraid to click, "Publish."

My greatest reward has been hearing from you, my readers, throughout the year. I wouldn't keep it up if it weren't for your encouragement! Thank you!

Here's to another year of good food and cookin' with whatcha got!